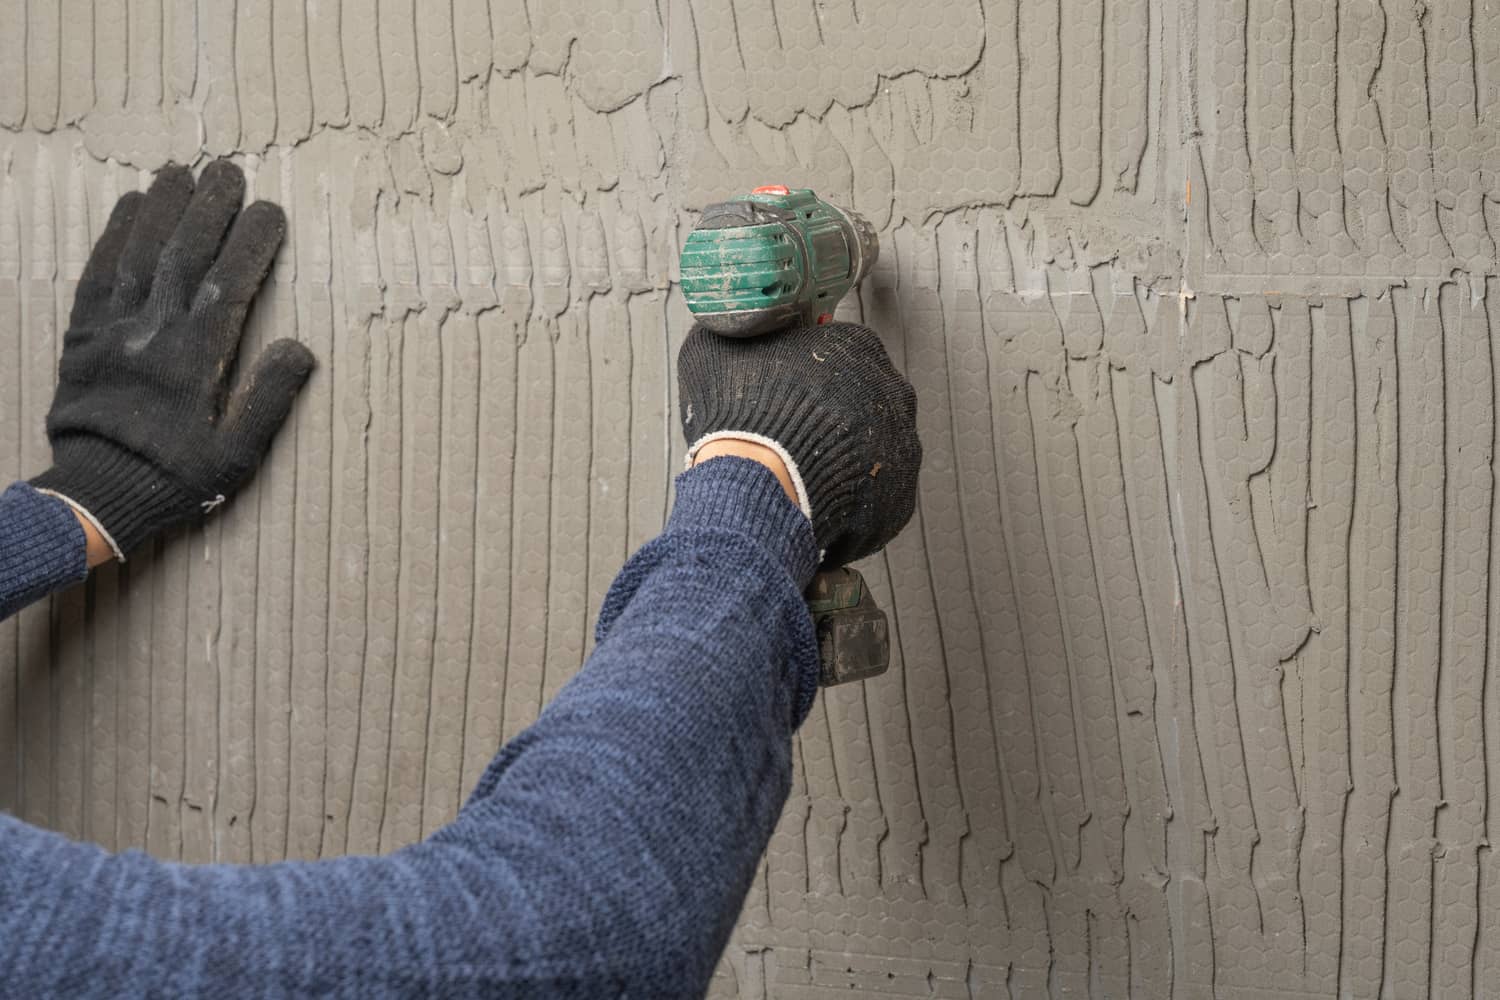
Are you looking to mount a new light fixture, hang decorative art, or install some outdoor security cameras on your stucco exterior? If so, you’ve likely realized that stucco isn’t as straightforward to drill into as wood or drywall. While stucco can be intimidating for even the seasoned DIY enthusiast, don’t worry!
With the right tools and a few planned steps, the project can be deceptively quick and easy. By the end of this article, you’ll be prepared to confidently drill into stucco like a pro.
A Bit About Stucco
Before we dive into the drilling process, it’s crucial to understand what you’re dealing with. Stucco is a durable and weather-resistant plaster commonly used for exterior walls. It typically consists of cement, lime, and silica applied in layers over a metal or wire mesh. Stucco is loved for its textured look and longevity, but its toughness can make drilling a challenge.
What You’ll Need
- Safety glasses
- Dust mask
- Masonry drill bits
- Electric drill with a hammer function
- Painter’s tape
- Level (optional, for precision)
- Vacuum (for cleanup)

Step-by-Step Guide to Drilling into Stucco
- Safety First: Always wear safety glasses and a dust mask when drilling into stucco to protect your eyes and lungs from dust and debris.
- Mark the Spot: Use a pencil to mark where you want to drill. For added precision, use a level to ensure your marks are straight.
- Tape It Up: Stick a piece of painter’s tape over the marked spot. This helps prevent the drill bit from slipping and reduces the chances of cracking the stucco.
- Start Drilling: Fit your drill with a masonry bit appropriate for the size of the hole you need. If your drill has a hammer function, turn it on, as this will help break through the stucco more efficiently. Begin drilling slowly to establish the hole, then increase speed as you go deeper.
- Clean the Hole: Once you’ve drilled to the necessary depth, remove the debris from the hole. A vacuum works best for this.
- Install Anchors (if needed): For heavy items, install a masonry anchor into the hole for added support. Ensure it’s flush with the stucco surface.
- Complete Your Project: Now that your hole is ready, you can proceed with mounting hardware or completing your project as planned.
Project Tips to Consider
When drilling into stucco, using the correct drill bits is non-negotiable. Masonry bits are specially designed for such tasks with their carbide tips ready to tackle the hardness of stucco. Initiating the drilling process slowly is another key to success, as it prevents the bit from overheating and reduces the risk of creating unsightly cracks or damage to the stucco’s surface.
Keeping the work area clean is just as important. Make it a habit to regularly clear out the dust from the hole you’re creating. This not only ensures a clean drill path but also extends the life of your drill bit and prevents your drill from working harder than necessary.
Additionally, it’s critical to stay mindful of the hidden elements within your walls, such as wiring and pipes. Utilizing a stud finder with detection capabilities for these can save you from potential mishaps and costly repairs.

Other Recommended Maintenance
After mastering the art of drilling into stucco, it’s vital to keep an eye on its overall health to ensure longevity. If you’re considering enhancing your home with a stucco finish over wood, precision is crucial. It’s important to ensure the underlying wood is in good condition and properly prepared to avoid any issues with adhesion or moisture.
When it comes to cracks, prompt action is key. Small cracks can be sealed with a high-quality caulk designed for stucco repair, averting potential water intrusion and further damage. For larger cracks, typically those wider than 1/8 inch, professional assessment is recommended to determine the underlying cause and appropriate repair method.
For homeowners contemplating the installation of siding over existing stucco, a detailed inspection of the stucco should be the first step. Address any necessary repairs, as a sound surface is essential for the new siding to perform well. In addition, installing furring strips and proper insulation are critical steps in this process. These measures not only ensure the structural readiness of the walls but also contribute to the thermal efficiency of your home.
When to Call a Professional
Tackling any DIY project can be fulfilling, but recognizing when to call in a professional can save you from headaches and potential mishaps. If your project is complex or involves a significant amount of drilling, professional expertise can guarantee a job well done.
For DIYers who are new to the world of power tools or feel uncertain about the task at hand, it’s a wise move to consult someone with experience. They come prepared with the necessary tools and know-how to complete the job efficiently. Moreover, if you’re concerned about the structural integrity of your stucco or the area you plan to work on, a professional can conduct a thorough assessment and advise on the safest approach.
Conclusion
Working with stucco can be a challenging task, but with the right tools and proper technique, it’s achievable for homeowners. Remember to prioritize safety, use a hammer drill with masonry bits, prepare the surface, and take your time during the drilling process.
However, if you have a complex project, lack experience, or have structural concerns, it’s always wise to seek professional help from Atkinson. By following these guidelines, you can successfully drill into stucco without compromising its integrity. Reach out to Atkinson Inspection Services for an inspection of the stucco in the Orlando, Clermont, and Villages areas and a full home inspection.


