Installing laminate flooring can completely transform the look and feel of any room in your home. However, when it comes to tackling the staircase, many homeowners feel intimidated and unsure of where to start. Deciding to install laminate flooring on stairs can truly revamp this high-traffic area! Using the right prep and steps, you can handle the project yourself and save on overall costs.
This guide will walk through everything you need to know – from removing old flooring and preparing the staircase to measuring and cutting new laminate and letting the adhesive cure. With a bit of time and patience, your staircase can have a fresh, updated look in no time.
What Is Laminate Flooring?
Laminate flooring has a composite construction made up of several layers fused under heat and pressure. The top layer is a clear melamine resin that provides stain and scratch resistance. Under that is a printed decorative layer that mimics materials like wood or tile.
Next is a core layer made of high-density fiberboard (HDF) that forms the base. Finally, most laminate floors have an attached underlayment layer on the bottom for sound dampening and comfort.
The tongue-and-groove edges lock together to form a floating floor that’s not nailed or glued to the subfloor. Laminate is durable, easy to maintain, and available in a wide variety of realistic wood looks. It’s an affordable and attractive flooring option for homes. Stairs see a lot of foot traffic, so laminate’s durability makes it a great choice.
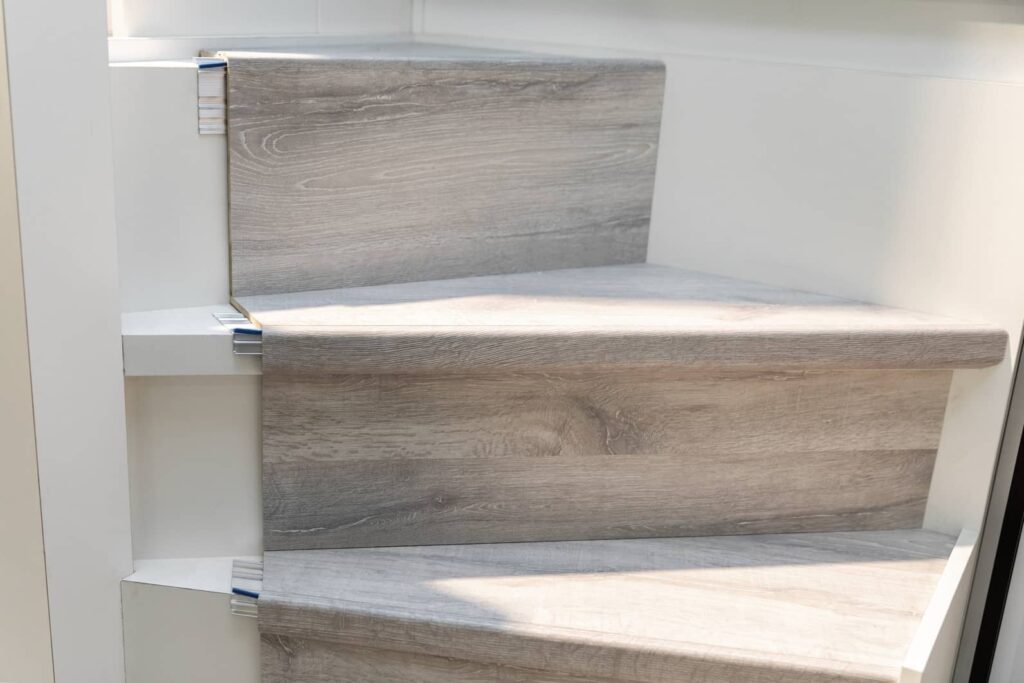
Here’s How to Do It
Completing a solo install of laminate flooring on your stairs is doable, however, there are plenty of steps to keep in mind. Misstepping or falling off track could leave you with a bigger mess and a longer project. You can follow these instructions closely for the best results:
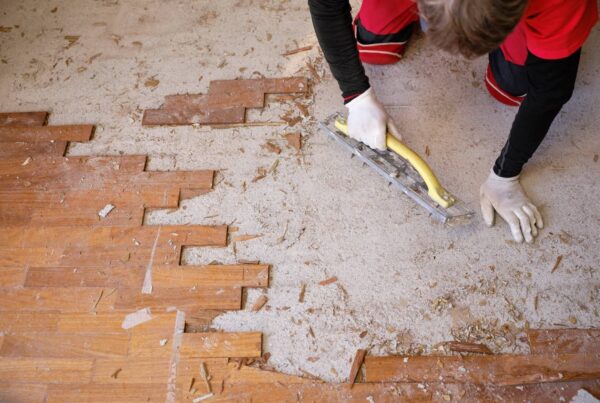
- Remove existing flooring – Carefully pry up any existing carpet, nail down any loose boards or tiles, and scrape away all old adhesive. You’ll need a smooth, clean surface.
- Prep the staircase – Remove any overhanging edges with a jigsaw or fill in gaps with plywood. This gives you a flat surface to work on.
- Install underlayment – Roll out underlayment made for laminate flooring and staple it down. This cushions steps and reduces noise.
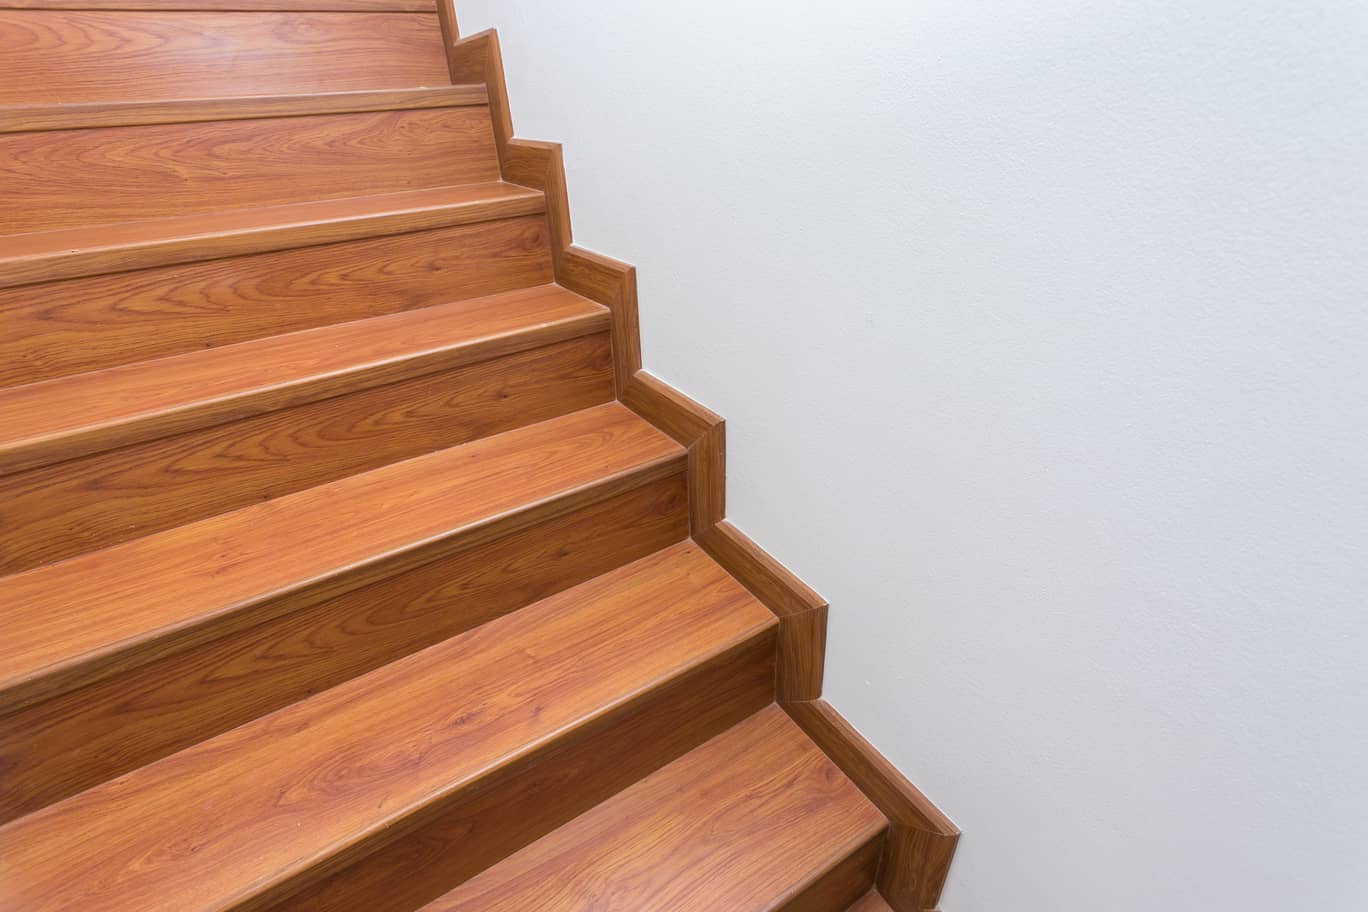
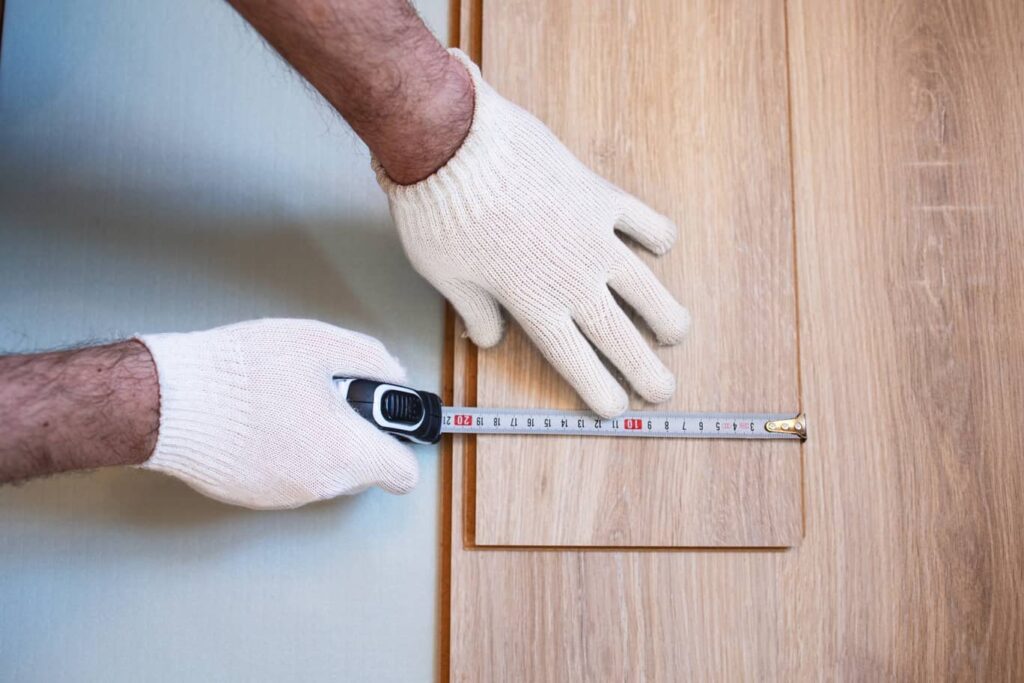
- Measure and cut laminate – For each step, measure and cut 3 pieces – a tread for the top, a riser for the front, and a nosing for the edge.
- Start at the top – Apply wood glue to the tread and press into place with the tongue facing out. Work from top to bottom.
- Add risers – Glue each riser piece onto the vertical front of the step. Hold in place until dry. Nail the top edge.
- Finish with nosing – Adhere the nosing pieces along the front edges to cover seams and finish off.
- Let cure overnight – Allow 12 hours for glue to fully cure before using the stairs.
Avoid These Common Mistakes
One of the most common is not allowing proper room for expansion. Laminate flooring expands and contracts slightly as humidity levels change. Leaving at least a 1/4 inch gap between the laminate planks and the wall is crucial. The same goes for spacing between individual planks. If you install pieces too tightly without gaps, the floor is likely to buckle over time.
Another mistake is forgetting to install underlayment. While it may seem like an unnecessary extra step, underlayment plays several important roles. It helps muffle noise from footsteps, creates a more comfortable feel underfoot, and protects the laminate from subsurface damage. Skipping this layer can lead to loud, hollow-sounding steps and shorten the lifespan of your new floor.
It can be tempting to walk on your newly installed stairs right away, but resisting that urge is key. All adhesives and glues need ample time to fully cure and bond – at least 12-24 hours of drying time is recommended. Rushing the process compromises the strength of the bonds. Patience pays off with a long-lasting installation.
Similarly, it’s important to let the laminate pieces acclimate in the room for 48 hours before installing so they can adjust to the actual temperature and humidity levels.
What Does it Cost to DIY?
Before you install laminate flooring on your stairs, it’s helpful to have a budget in mind. The main costs are the laminate flooring itself and tools. If using prefabricated treads, budget $40-$60 per step for materials. With laminate planks, expect to spend $2-$3.50 per square foot. For a standard 12-step staircase, you’ll spend $150-$200 on good-quality laminate.
You’ll also need a jigsaw, hammer, pry bar, tape measure, utility knife, glue, nails, and safety gear—budget at least $100-$150 for these tools. Consider borrowing items you don’t have.
Finally, factor in labor. If hiring a pro, expect to pay $60-$100 per step for installation. Doing it yourself saves hundreds. While not the easiest DIY, with patience and the right tools, installing laminate on stairs can be a weekend project that makes a dramatic difference.
Recommended Maintenance
Once your laminate staircase installation is complete, a bit of regular care and maintenance keeps it looking fresh and new. Start by thoroughly cleaning the stairs after installation to remove any leftover glue, dust, or debris from the project. Use a damp mop and mild cleaner safe for laminate floors.
Going forward, sweep or vacuum the stairs weekly to keep dirt and grit from building up, which can scratch the surface over time. Spot clean spills and stains right away with a clean damp cloth. Harsh cleaners can dull laminate, so stick to gentle cleaners labeled safe for laminate floors.
Inspect your stairs occasionally for signs of wear and damage. Look for swollen or warped planks, which indicate moisture issues that need addressing. If you notice scratches or dings, laminate touch-up markers can help cover them. Consider adding slip-resistant tape to the nose of steps to prevent slips and falls, especially in households with kids or elderly members.
When to Call a Professional
Stairs can present more challenges than installing laminate flooring on a flat floor, especially for beginners. If after reviewing the process you don’t feel equipped to tackle this project solo, it may be wise to call in a professional installer.
A professional can assess any issues with the underlying structure and make necessary repairs before flooring installation even begins. If you don’t have the right tools for the job, like a power saw, and have limited DIY experience, that’s another good reason to hand it off. If your staircase has multiple tricky landings or turns, that added complexity makes it less ideal for a DIY laminate flooring install. Straighter, simpler staircase designs are much better suited for weekend warriors.
Lastly, if your own mobility or ability to go up and down the stairs repeatedly during the project is limited, that’s a compelling reason to hire out the work. The installation process requires a lot of agility and movement on the steps. There’s no shame in deciding after considering all factors that this project is beyond your current skill or comfort level. An experienced flooring contractor installs laminate staircases routinely and can do the job most safely.
Conclusion
All things considered, revamping your staircase with laminate flooring is a doable project that pays off. The durable, attractive laminate transforms the look of this high-traffic area while standing up well to everyday wear and tear.
Although it takes more time and care to install laminate flooring on stairs than on flat ground, this guide breaks the process down into clear, manageable steps. With the right tools, attention to detail, and patience as adhesive cures, you can save money on installation costs and gain stunning new stairs. If you’d like an expert opinion on your updated stairs or a complete home inspection in Clermont, FL, and surrounding areas, reach out to Atkinson Inspection Services today.

